
At long last, a preview of Azure Information Protection has been released – along with a whole new set of EMS licensing[footnote]Introducing a licensing model that, instead of one-size-fits-all, is more similar to the Office 365 model – read more[/footnote]. Enterprise Mobility + Security, erstwhile the Enterprise Mobility Suite, has had a number of important security products brought under the umbrella in addition to the identity-based security foundation comprising Azure Active Directory, Azure Rights Management, and Microsoft Intune. Microsoft has purchased a number of startups in the space – Adallom, Aorato, and Secure Islands – who’s products are now integrated to some degree. Each of these components helps secure a layer in the new IT reality with a mobile workforce:
- Identity – who is accessing the data
- Managed devices and applications – where the data is being accessed
- Data protection – protecting data wherever it goes, and controlling access based on who is accessing the data.
It’s a bit of a cliché, but the fact is that if your IT department is preventing people from working the way that they want to, the employees you want to keep will either bypass the security measures or move to another company.I’m pretty excited about what Azure Information Protection offers – it really expands the capabilities and addresses some really common requests around Azure RMS. Azure Information Protection expands the capabilities of Azure Rights Management, by enabling automatic classification – and therefore protection – of data within your company. The classification is persistent, no matter where it’s stored or shared. Classification can include a simple visual indicator, such as a watermark or header, but for more-sensitive data, Azure Rights Management can be used to protect the data from inappropriate or accidental sharing or data loss. This is an important addition to the capabilities offered by Azure Rights Management. Azure RMS is a solution, but the solution needs to be expanded by other teams within Microsoft (Office, Exchange, SharePoint, and Windows) and companies outside of Microsoft to make an ecosystem that works seamlessly for your users. Office has good integration, but the type of protection needs to be manually applied to the document at point of creation. SharePoint and Exchange (on-premises and online both) have moderate support, using the existing Information Rights Management API and Data Loss and Prevention capabilities. Being able to automatically classify and/or protect a document based on its content is a really cool ability and makes it much simpler for less-technical people to use the product.
There’s a fantastic tutorial on how to get started using the preview product for Azure Information Protection in the documentation for the product, which makes any effort of my own to create a walkthrough somewhat redundant. Check out the guide here!
There’s a number of prerequisites before you can really dig into Azure Information Protection:
- You need a subscription that includes Azure Rights Management. This could be a preview. In addition to this requirement, you’ll need an Azure Active Directory. This will be created along with your RMS-capable subscription.
- Understand the current feature limitations – which, because it’s a preview, will change frequently, but current “big ones” that jump out are the lack of integration with Exchange and SharePoint Online and the lack of support for mobile devices
- You need to use a special link to access the Azure Portal: https://portal.azure.com/?microsoft_azure_informationprotection=true
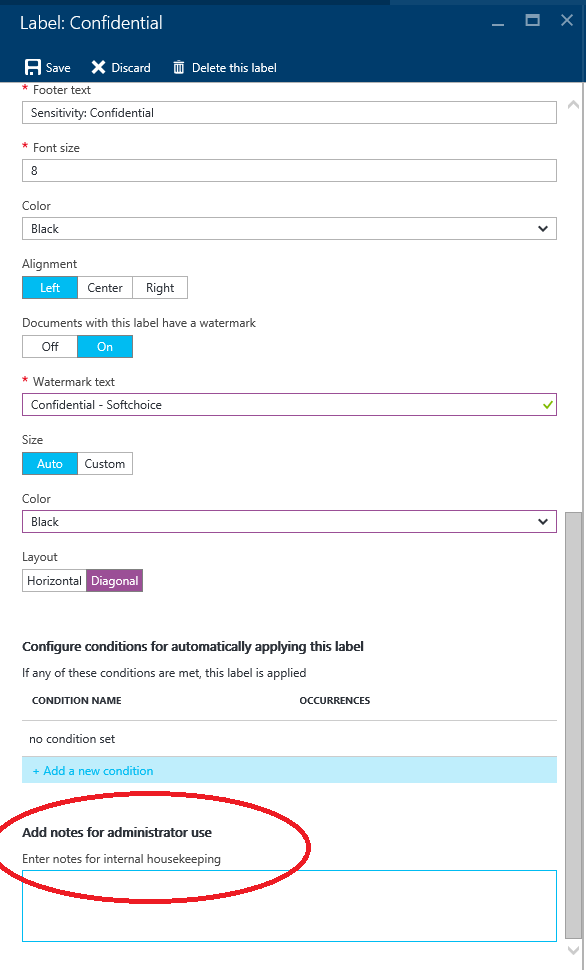
As I was running through the quick-start guide, one thing really jumped out at me – the ability to make notes about a label! Being able to make a simple, free-form note about what the policy does is really convenient. You can use this to make quick notes about why a setting is a certain way, have a bit of a change log about who touched it last, etc – making it easy to work with in a larger organization.
I did encounter some bugs in the Azure portal when working with the service. Keep your refresh button handy. Fortunately, it’s not too complicated right now.
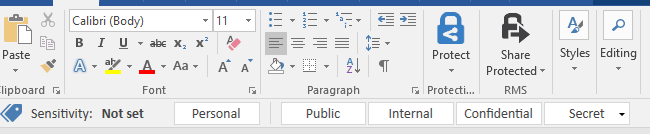
You’ll need to install the client – this will, I imagine, be a easy-to-deploy application once it comes out of preview. Once you install it, you’ll have a new toolbar icon in Office, which gives users a simple and quick way to classify the document.
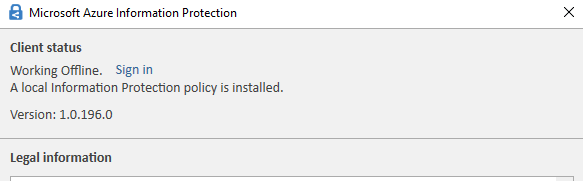
If you’re not seeing YOUR policies (the installer can install a demo for you, to see the basic functionality), you may need to sign in. Click the Protect button, and select Help and Support, then select sign-in.
When you put some sensitive information into the document and have an appropriate policy, it automatically recommends classification:
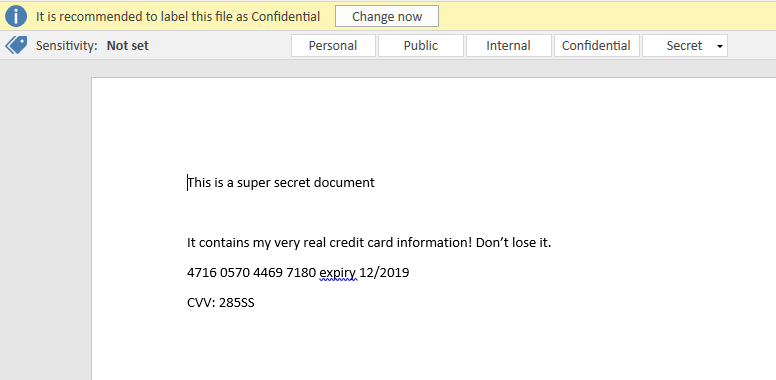
When I select Confidential, it automatically applies the rules for that sensitivity level, which in my case include the Company Confidential default RMS template and a footer tag indicating the document is confidential. When paired with RMS, as I just did, the document is now protected wherever it is – with no worries about the data ending up on unsecure devices or leaking to nefarious characters – only authorized people can open it, and a limited number of administrators can remove the protection.
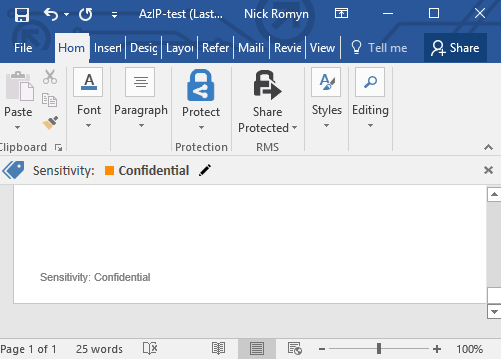
Automatically-applied footer
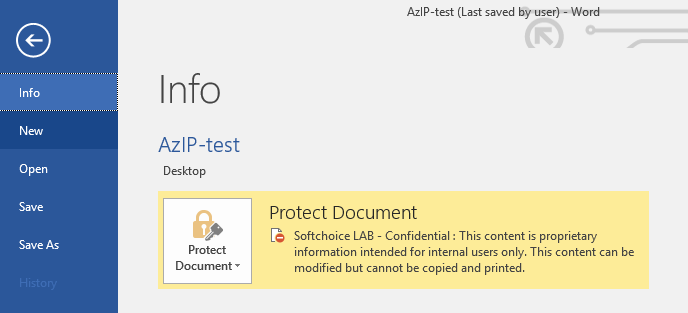
Protected anywhere with Azure RMS
Azure Information Protection has a tremendous potential for use in all sorts of organizations, from small business to large enterprise. There’s a Yammer group that’s dedicated to answering questions about the product and to address technical issues that arise using the product – it’s not really tech support, but it’s a good place to go if you have a question you can’t find the answer to in the documentation or have a bug. It’s here at https://yammer.com/askipteam